If you've never done sashing on a quilt, you've come to the right place. I've never done it either. And of course, the quilt I'm currently working on has sashing. The back of the quilt is done at the same time as the front but when you sew the blocks and rows together you have a seam of unsightly raw edges that is visible on the back. So to cover those up, you a take a strip of fabric 1.5" wide, turn the edges to the middle and sew that on the seams to cover it.
So the first thing, I did was trim some of the excess fabric off the seam to make it lay a bit flatter. Trust me, these seams are pretty bulky, just don't cut far enough down into your sewing. Trim all the seams.

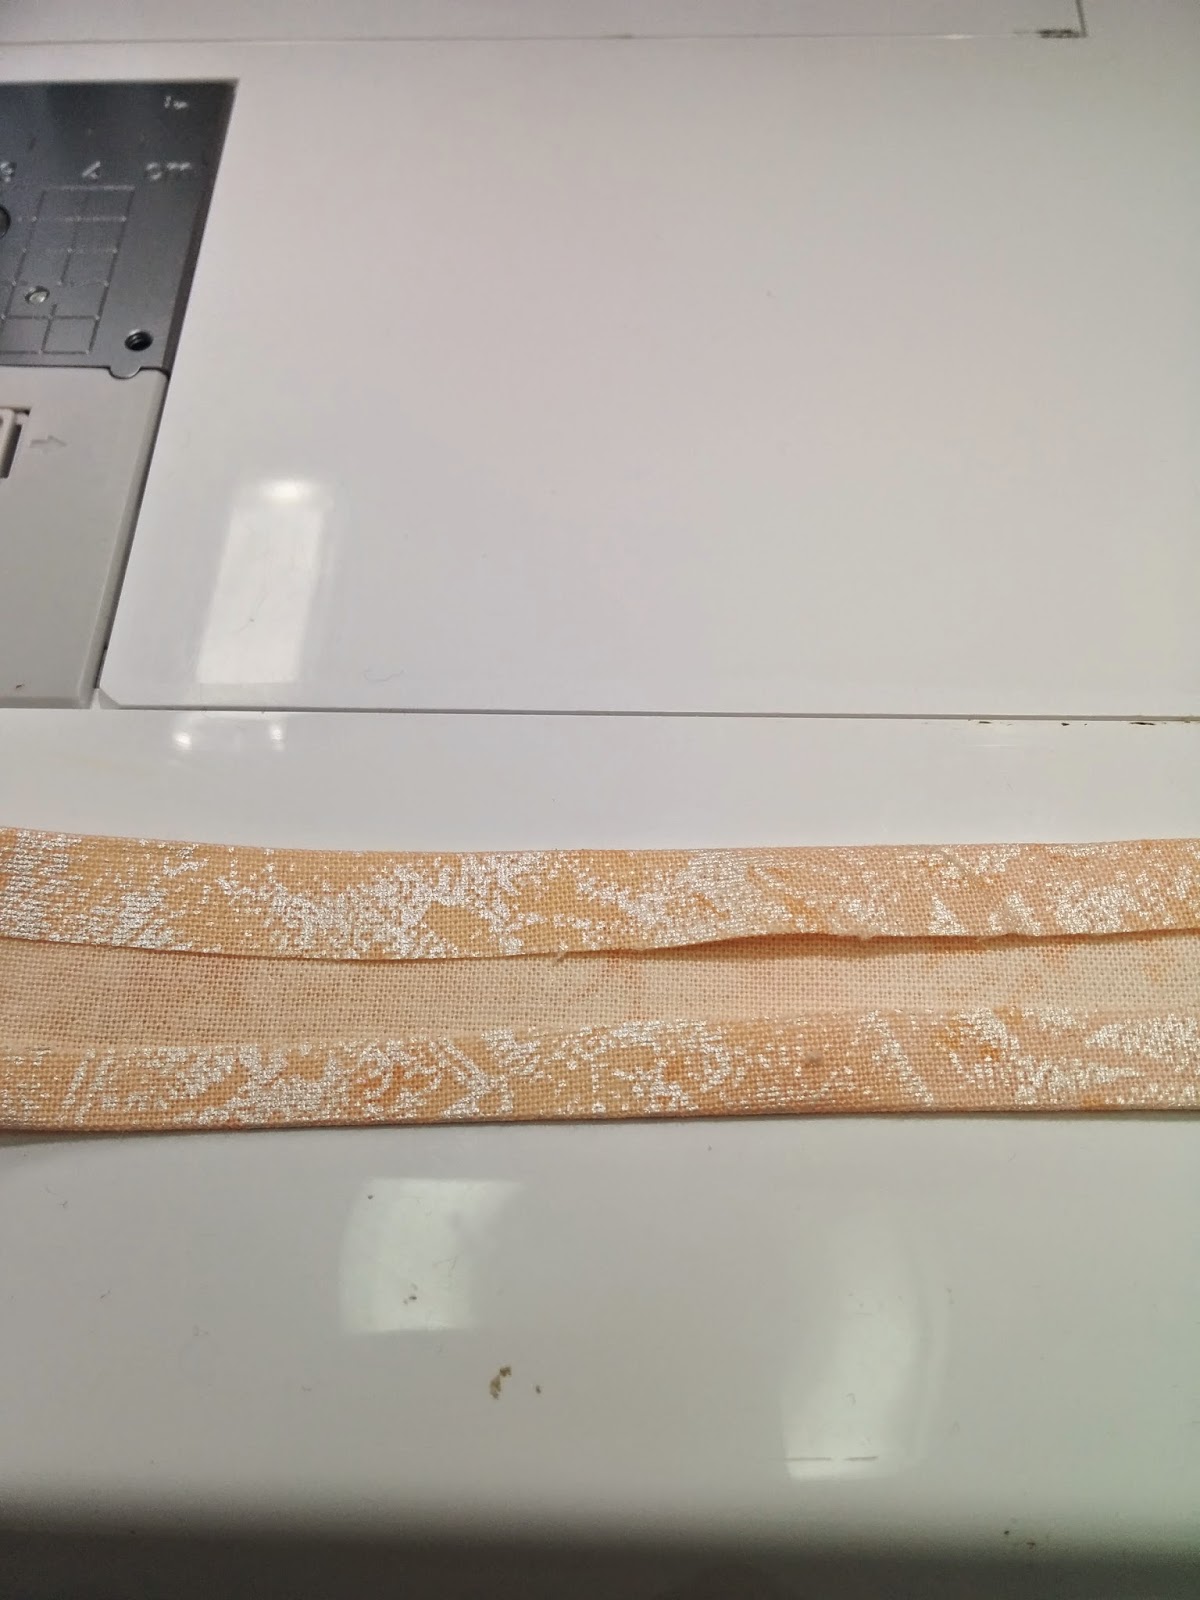
Next, you can make your sashing. Take your sashing fabric, mine matches the backing fabric, and cut strips 1.5"x WOF. I used a spray starch and sprayed the strip, then I folded the edges over and then I ironed them in place. You can use one of those binder makers from Simplicity if you want your sashing to be perfectly folded just make sure that you get the one that does a double-fold not just a single fold. I didn't fold the edges to the center because I was afraid the sashing wouldn't cover my seam and I just wanted to make sure I'd have enough in the width and I did.
Next, line up the sashing over your seam and using a very fine Monopoly thread in the needle and the bobbin, sew the sashing down using a zig zag stitch. You can use any kind of stitching really just make sure you sew the sashing down. If you want, you can use a fusible tape and fuse the sashing down first or you can use a glue stick or pins if you want to hold the sashing in place while you sew. I didn't bother. It was easy enough to just keep the sashing centered over the seam while I was sewing.

You won't be able to really see anything on the back or the front thanks to the Monopoly thread. The only thing you can see is needle marks. Just try not to go crazy trying to find that clear thread. Hopefully, in the picture below, you can see the marks on the front of the quilt that I've circled in blue.

After you get the sashing on, it should look something like this.


I've never finished a quilt like this before and it seems pretty weird I have to admit. Not sure if I really like it but I guess that's how this embroidered quilt is done since you do the back at the same time as the front. Now, I just have to do this to the rest of the quilt.
So as you can see the quilt is finally coming together. I've almost got the center part of the quilt done leaving 2 rows on the top and bottom to go yet. They're the borders so I'll get them done when I get them done but I should be ready for the trunk show on January 17, assuming the weather cooperates.
So the first thing, I did was trim some of the excess fabric off the seam to make it lay a bit flatter. Trust me, these seams are pretty bulky, just don't cut far enough down into your sewing. Trim all the seams.
Next, you can make your sashing. Take your sashing fabric, mine matches the backing fabric, and cut strips 1.5"x WOF. I used a spray starch and sprayed the strip, then I folded the edges over and then I ironed them in place. You can use one of those binder makers from Simplicity if you want your sashing to be perfectly folded just make sure that you get the one that does a double-fold not just a single fold. I didn't fold the edges to the center because I was afraid the sashing wouldn't cover my seam and I just wanted to make sure I'd have enough in the width and I did.
Next, line up the sashing over your seam and using a very fine Monopoly thread in the needle and the bobbin, sew the sashing down using a zig zag stitch. You can use any kind of stitching really just make sure you sew the sashing down. If you want, you can use a fusible tape and fuse the sashing down first or you can use a glue stick or pins if you want to hold the sashing in place while you sew. I didn't bother. It was easy enough to just keep the sashing centered over the seam while I was sewing.
You won't be able to really see anything on the back or the front thanks to the Monopoly thread. The only thing you can see is needle marks. Just try not to go crazy trying to find that clear thread. Hopefully, in the picture below, you can see the marks on the front of the quilt that I've circled in blue.
I've never finished a quilt like this before and it seems pretty weird I have to admit. Not sure if I really like it but I guess that's how this embroidered quilt is done since you do the back at the same time as the front. Now, I just have to do this to the rest of the quilt.
So as you can see the quilt is finally coming together. I've almost got the center part of the quilt done leaving 2 rows on the top and bottom to go yet. They're the borders so I'll get them done when I get them done but I should be ready for the trunk show on January 17, assuming the weather cooperates.
Comments
Post a Comment