Well, I bit the bullet. I joined a block of the month through Stitchin' Heaven. I have never signed up for a BOM simply because of the cost. I figured I can cut out my own stuff. Well, after several years of starting and never finishing sewing projects, I realized something. I don't have the patience, time or energy to do everything. If it's a simple cut fabric and sew together quilt, that's fine but if there's a lot of applique involved, forget it. I will buy all the fabric, because let's face it that's the fun part, pet it for a while and be all excited about the quilt project, get started then realize that making the thing is going to take at least a year and roughly 462 months. And let's face it, life gets in the way and then I spend less and less time with my project and the excitement wanes. Then I've got pieces and parts laying around and no energy to figure out where I left off. Sounds familiar, right? Don't lie it totally does. I cannot be the only one that does it.
I saw this applique quilt, On Wander Lane by Nancy Halversen on Art to Heart and it is just too cute! It's a large quilt that features 12 blocks that represent the 12 months of the year. Each block features a house, yard and seasonal theme decorations. The border also has a seasonal theme.
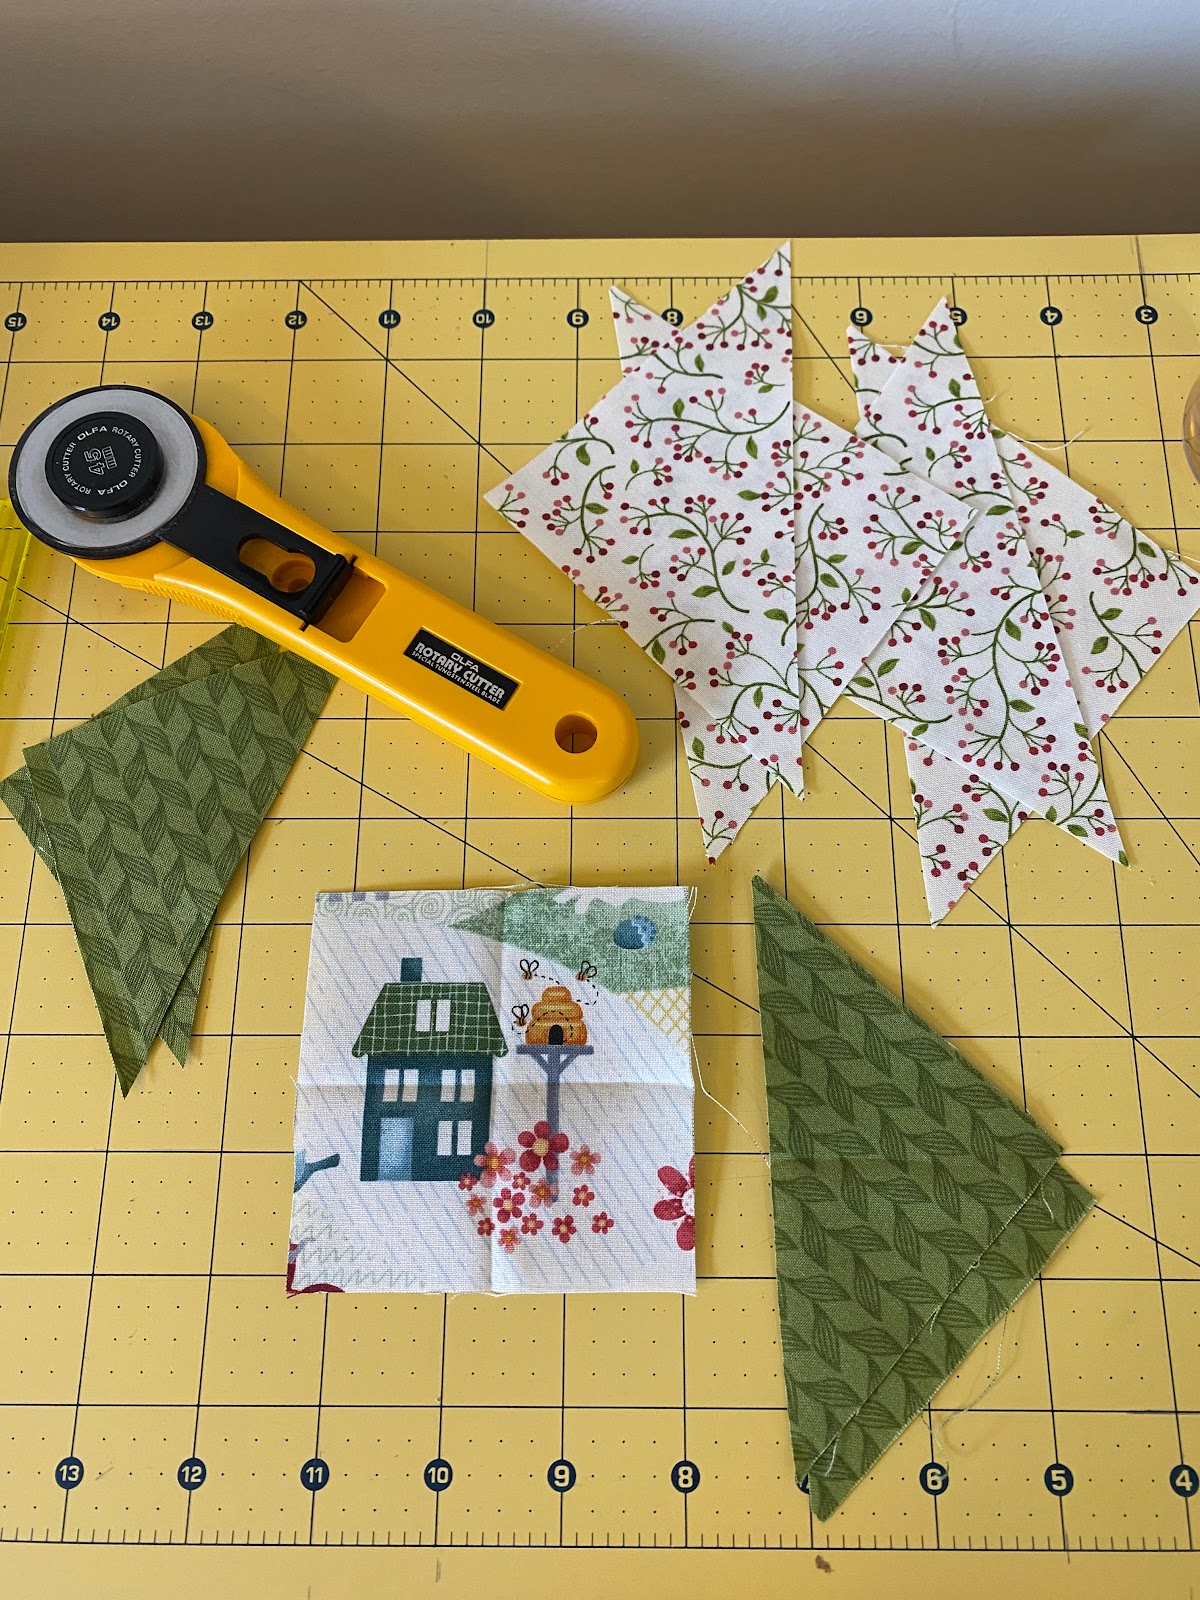
Each monthly packet comes with all the background fabric and all the applique pieces already cut out with a fusible web on the back and of course the monthly instructional booklet. The booklet also has instructions for some extra projects like pillows or hot pads or whatever. So far I have no plans to do any of the extras but I might. What I didn't know and it's hard to see on the pictures is that there's also little buttons/charms to sew onto the block and even some hand stitching if you want to do that so you can really personalize it. I received the first month of the quilt, which happened to be March. I didn't take any pictures while doing it, mostly because I didn't think about it but my priority was reading all the instructions and not messing up. If I cut something wrong, I don't have any replacement fabric to use. I'd have to dig through my own stash to find a similar replacement which may or may not work.
It's not completely finished yet. I have to do some hand embroidery on it and get those little buttons on and sew all the pieces down. The other blocks are for the border. Below is the disappearing 9-patch block which is two fabrics sewn together, cut up and re-sewn back together after turning a few of the pieces.
My block turned out a little wonky but it should work out fine. The second block was called a block in block. The house was cut out from another fabric and then the two colors were added to make the block.
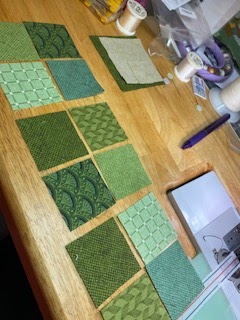
The last block is the shamrock block. We laid out our green squares and sewed them into a 4 patch so we had 3 blocks. Then we added a lighter fabric to the outside corners and trimmed. I finished the block by adding the stem and sewed everything together.
Helpful Items and Tips for this Project
If you're new to sewing these items maybe helpful to you. Obviously, you should have a pair of scissors, a cutting mat and a rotary blade but you may also find it very helpful to have a small travel iron set up right next to your sewing table and a rotating pressing board. Some blocks require a good pressing before each step, so having a little iron next to you is very, very handy.
I also have a mister spray bottle, which is really nice. It doesn't spit giant drops of starch/water on my fabric. It's a nice mist spray that covers a large area of fabric. Mine is currently filled with Best Press Peach.
The next item I find really helpful is a heat erasing fabric pen. I had a set of Frixion pens but all I've been finding lately is Frixion pens for paper. Just make sure your getting pens for fabric. I use these pens to draw on my fabrics for sewing lines, marking centers of pieces, hand embroidery or just quilting designs. Whatever. It irons off if you make a mistake and I'm usually ironing my pieces as I go so everything is gone by the time the block is done.
The last item, which I just started using, is seam tape. If you do half square triangles and you like marking fabric on the back then this tape is not for you. This tape eliminates that need. Just line up the needle on the line and line up your end point on the line. The sewing machine will feed the fabric in right where you need it.
Here's a picture using the seam tape for the stem on the shamrock block. I needed to sew on the diagonal. So I lined up the needle, which the red line on the tape is lined up with, and the corner (or end point) is also lined up with the red line (see beige fabric). Sew straight down keeping that end point on the red line and bob's your uncle your line is straight on the diagonal.
My last bits are more helpful tips. First, join the BOM's Facebook page or blog or whatever is set up. Join in with the group in either discussion of the current block, share sewing tips or just give encouragement to those new to sewing or specific techniques used in the blocks. You never know when someone will notice the wrong fabric, the wrong shape to a piece or whatever which maybe helpful to you especially if you get behind. After all, you're all in it together. Besides, it's interesting to see all the different variations people come up with.
Also, make sure you check you have all the pieces your supposed to get. Accidents happen but you'll want to make sure you contact your BOM provider to bring it to their attention. It might not just be your packet that was messed up.
Organizing Notebook
If you haven't done a BOM or your sewing room is a lot like mine, you know not organized, cluttered, lots of UFO's laying around, you might find keeping a notebook handy. This way you can keep all the instructions, fabric and bits together. For example, the first month we got all the different embroidery floss and buttons we'll use for the next 12 months. I assure you, I will NOT be able to find anything in my sewing room after a month let alone keep something around for 12 months before I loose or forget why I have it. At least I'm being honest with you and myself!
I put together a 1.5" 3 ring binder that I organized with Month tab sheets and behind each month, I have 4 or 5 clear insert sheets. Organize your instruction sheets, extra bits and bobs, diagrams, fabric scraps and oh yes, correction sheets from the provider. There is usually some kind of error in the instructions that need correcting. And if you get behind in the months because you know, life happens, then everything is still there waiting for you. So this may or may be helpful but I'll put each month in my binder when I get it, then I should have everything when I need it.
So, my first month of BOM is done and I have to admit having everything sent to me in one packet - fabric, instructions and applique cut outs - has saved me a lot of time and frustration. It was so easy to get the block done that I could get it all done in about 4 hours. Since this block was my first in this series, I read all the instructions first and made sure I got everything in my packet, ironed all the fabrics, cut them and sewed it all together. So it probably took me longer than it should've but that's okay. All I know is that if I'm going to do a BOM it is definitely going to have a lot of applique pieces in it so I don't have to do all the very tedious stuff. Getting your quilt fabrics and cutting everything out is literally half the battle when making a quilt and now I just get to put it all together which is the fun part. So I think my first BOM is off to a really good start.


Comments
Post a Comment